
Well, I have answers for you!!! You do have to be careful cutting mirrors and take precautions from getting cut on sharp edges - I do know from experience. If you are removing a mirror (or more) reuse it for a better, prettier purpose and save yourself some money.
In our last home I took down 2 of these large mirrors and made one into the very large mirror in our foyer. You can see it below.

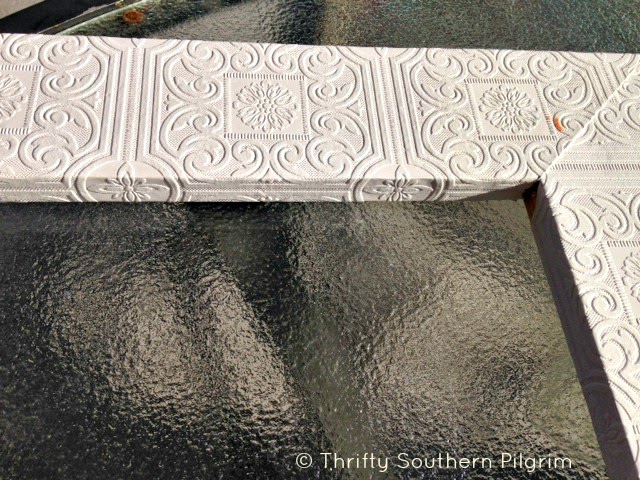
Here is a close up of the frame, which is what this post is about today. Can you tell what material that is? Look closer....

It is anaglypta wallpaper painted with Rustoleum's Antiquing Copper kit (spray paint and antiquing gel)! Doesn't it look like metal?! I love this frame and it (unfortunately for us) stayed with the house when we sold it.
I had also made 2 smaller frames with more leftover mirror, but painted them differently. I never liked the color and I did a bad job with adhering the paper and it started buckling which made it look bad. Here are a few pictures of it before.


I decided to take the paper off and redo it , making certain to adhere it correctly using wallpaper paste. Here are a few shots of the back of my very simple frame, and of the new paper on before painting.


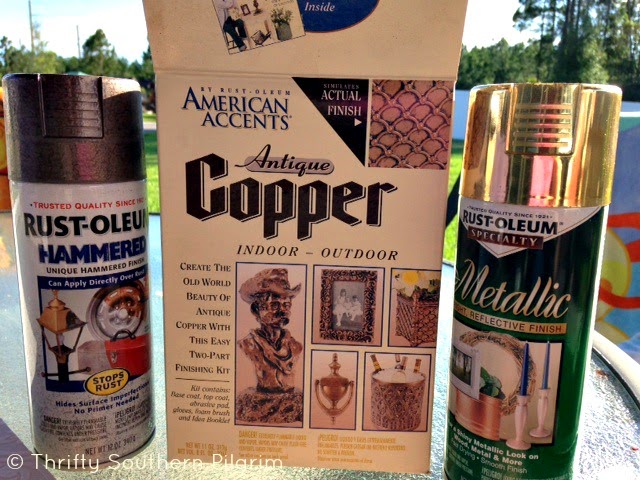
I did not have any of the copper spray paint left, and of course I was inpatient and wanted it done right away, so I found some gold spray paint to use instead of the copper. I very lightly sprayed the brown over it to just cut the gold down a little. Looking back, this step was probably not needed.
This is a photo of my supplies:
After spraying the paper and letting it dry I started with the antiquing gel. *** Remember, when putting a mirror on behind a frame, you have to finish a small section of the back edge because it actually will reflect in the mirror - and if you don't finish it you will see unpainted edges.... ****
Apply Gel liberally:

Wipe off with a damp rag or cloth. You keep wiping until you like the look:

Here you see the difference with the antiquing done, and not done yet.

Here is the mirror on the wall. I love the color change, but even more I love that it looks good - no more buckling paper - it looks like metal. Of course, I am not in love with it in here, but that is where it is staying for now.....


What have you done with your large builder's mirror? I have seen some cool projects on Pinterest and need some ideas for the boy's bath and our master bath in this house.
Thank you for reading, have a great weekend everyone!
Linking up with these fun blogs!: DIY Vintage Chick, The Pin Junkie, The Craft Dictator, Miss Mustard Seed
Our original bathroom mirror (probably from 1980) got nasty with black edges and we had it cut down at a glass place. And just rehung it smaller. not as cute as the thrifty pilgrim- LOVE what you did, as always!
ReplyDelete