Showing posts with label boys room. Show all posts

Saturday, May 11, 2013

Boys Room Reveal

Hope you are having a good weekend.

I thought I would share the boys' entire room. I have shown lots of posts of projects but have not shown the entire space yet. The headboards that I built from Ana White plans, the painted dresser, the pennant banner are all posts. You can read all the details by clicking on the links.

When you stand in the doorway and look to the right this is the view.


If you look slightly to the left you can see both beds with a cube system that I turned on its side to fit between the beds. This works out great because it is not deep and I don't have to worry about a big nightstand sticking out with my little one. I was picturing bumped heads in the middle of the night....probably would never have happened but I feel better about it!!


The one window valance was made by me. I used a brown fabric with some extra fabric with stars on it and little brown ball trim. I lined it and hung it high. So sorry about the light from the window. There is such contrast in the dark fabric and the light that I could not get a better picture. I am sure if I had a clue about cameras, I could, but that has not happened yet....


This little desk is the perfect size. I found it at the Habitat for Humanity ReStore when they had their annual yardsale. It was $20. It was an orangey, yellow color so of course I painted it the same color as the headboards. The little stool you see is temporary. The desk chair broke and until I find a new chair or stool this little one sits there.


There was a tiny wall space between the closet door and the wall so I made these holders for hats. I used scrap wood and bought a bag of wooden pegs and made these. They fit perfectly in this little spot.


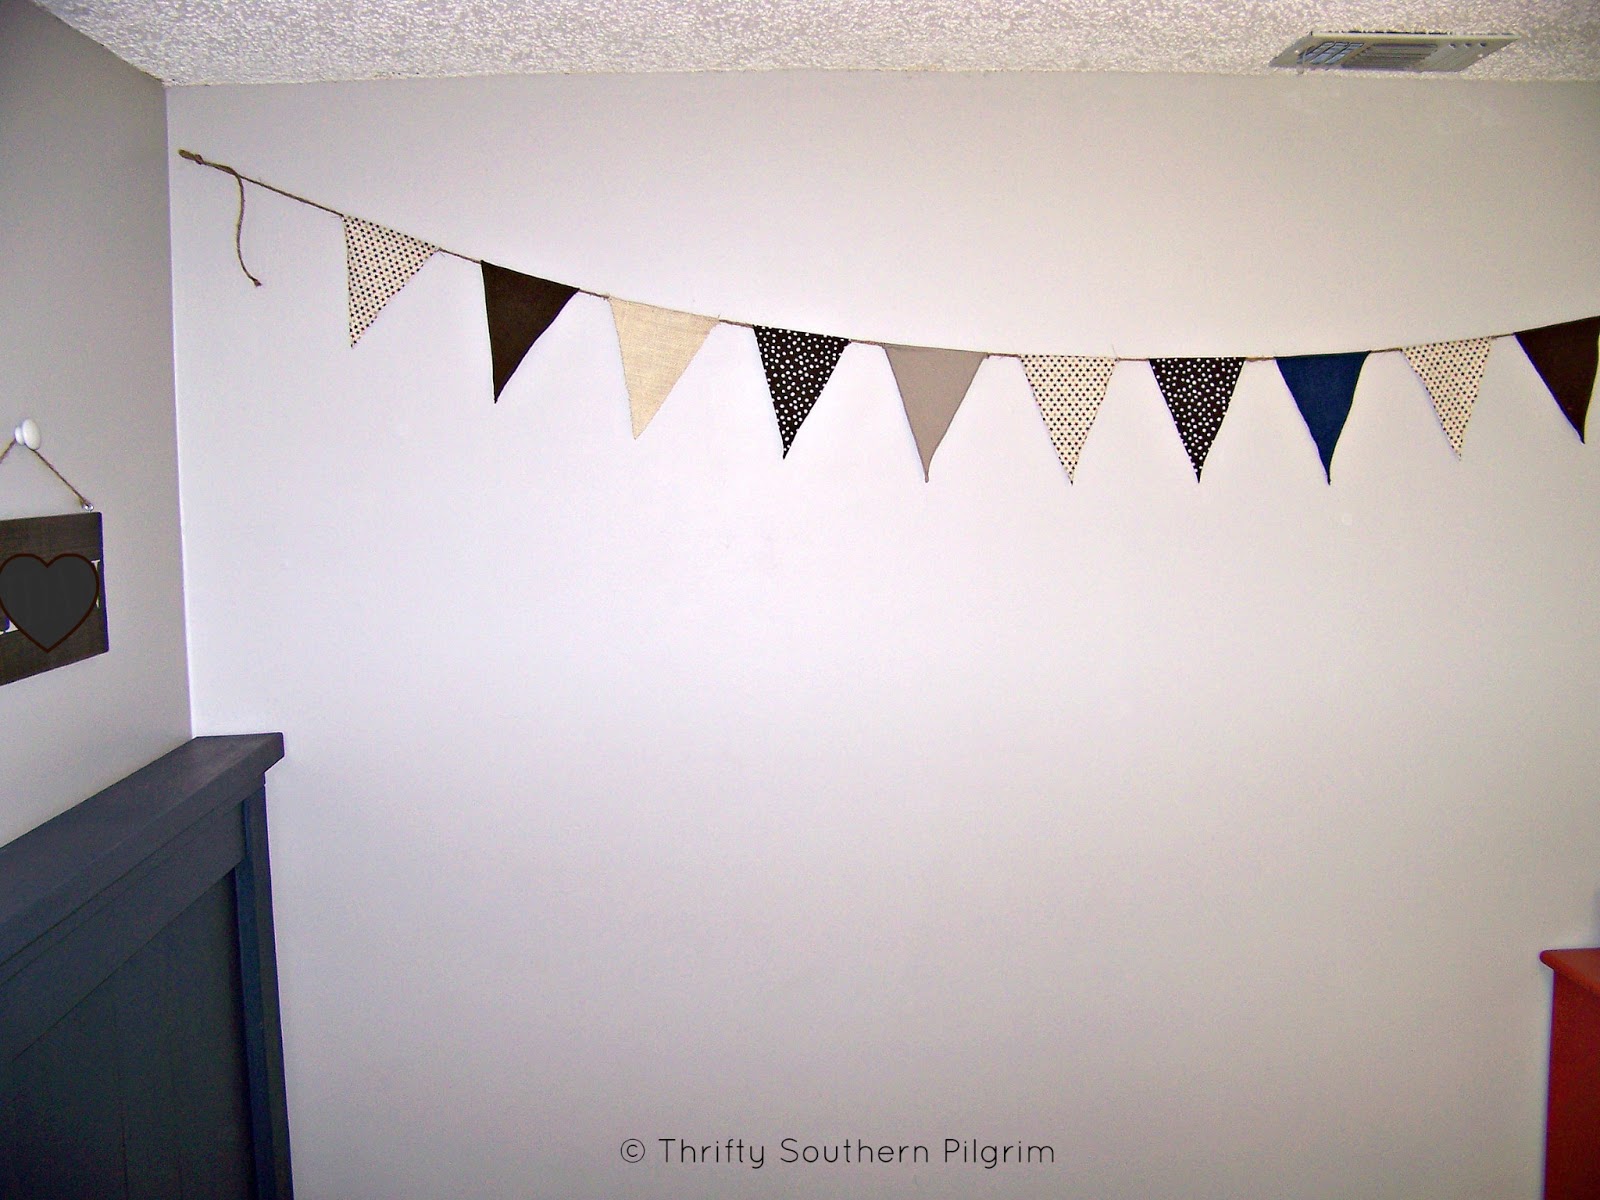
Here is the wall with the pennant banner on it.


This is looking at the door to their room. You can see I have another peg rack at their height so I don't have to hang things up...... it may or may not work!
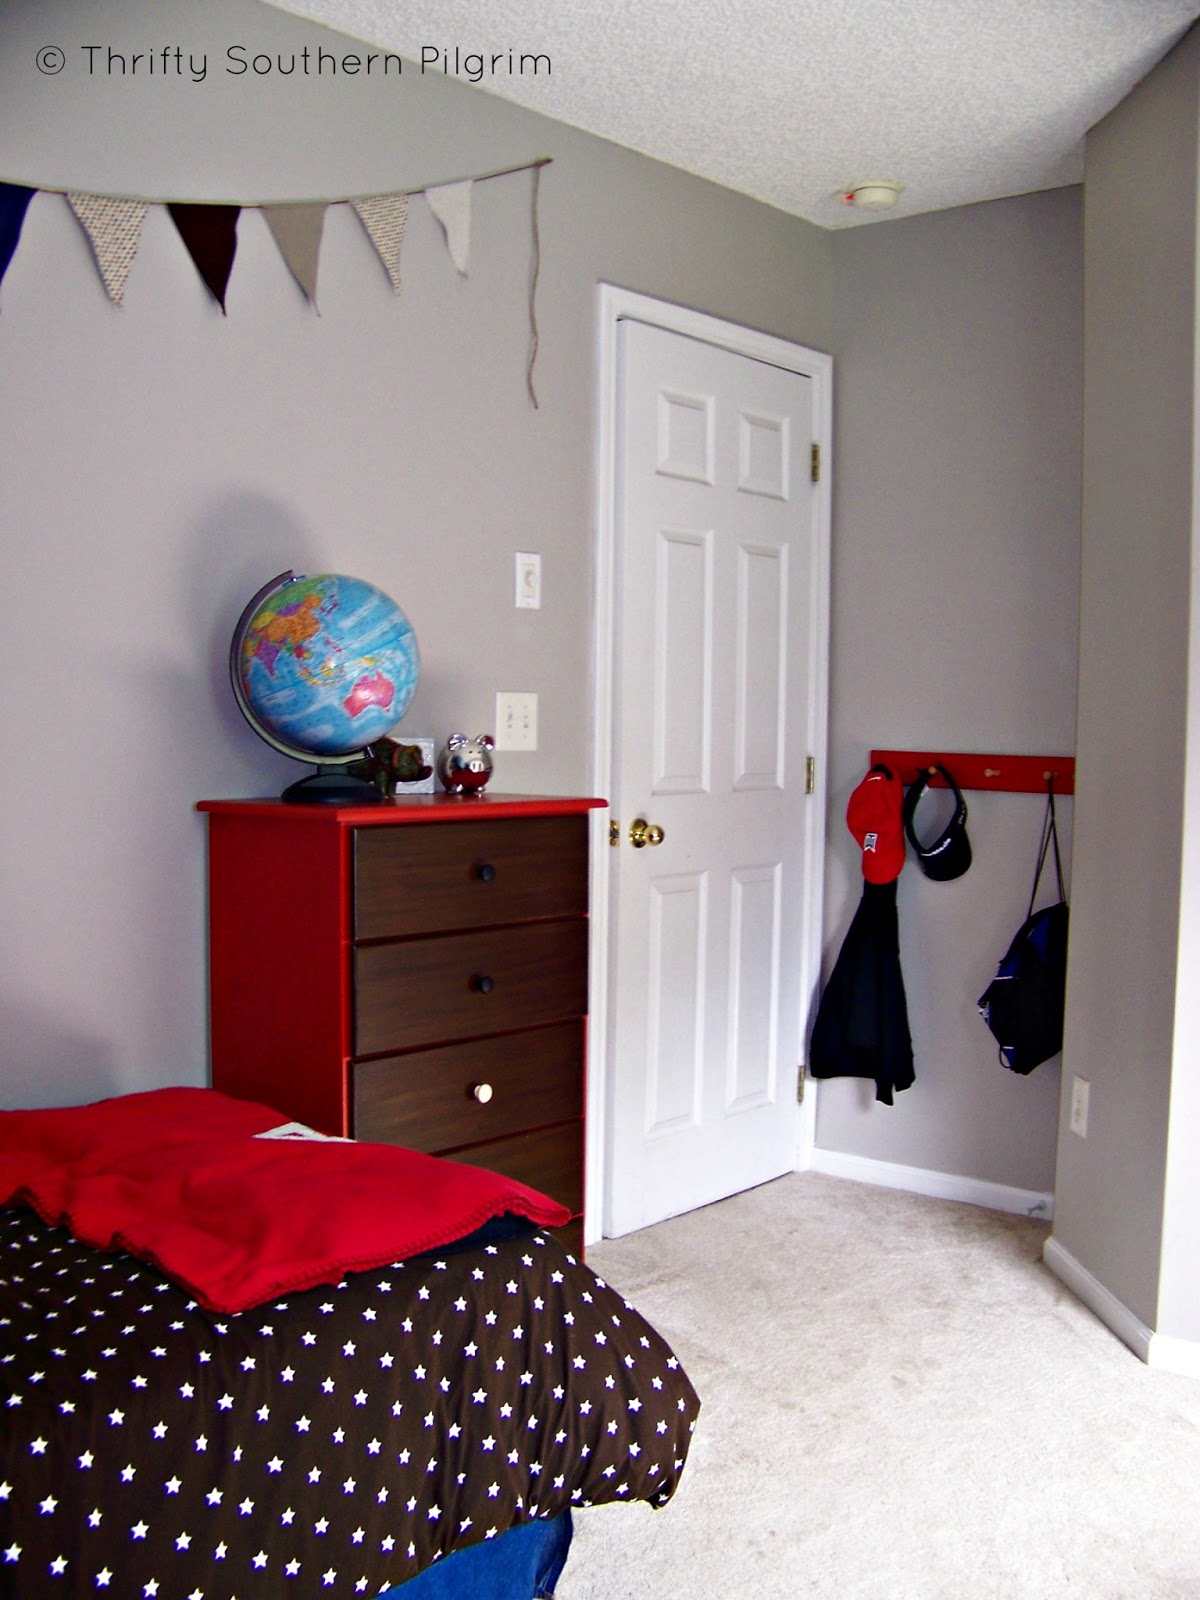


I had fun changing their room when I put my younger son into the same room as my older son. I wanted to make it different than what it was so it was their NEW room together.

Sources:
Star Comforters: Pottery Barn Kids
Headboards: Built by me from Ana White plans
Wall Color: Cumulus Cloud by Benjamin Moore
Valance: Made by me from fabric I had. The pom pom fringe was from Hobby Lobby
Headboard/Desk Color: Black Abyss by Clark & Kensington


I want to remind everyone that there is ONE DAY LEFT to enter the giveaway for a really cool enamel house number sign from Ramsign. See my giveaway post for details.
Here is a picture of a sign.


Linking up with:

Funky Junk Interiors
It's Overflowing
A Little Claireification
Thrifty Decor Chick

Monday, April 22, 2013

Jute wrapped Letter

I have been working on a little gallery wall for the boys room. I have a letter for each of them. Actually the A for my oldest will be redone as it was originally done when he was just a baby. The letter C for my youngest is new. I decided to cover the C with jute. I like the texture and the color goes well with the mostly browns and greys in their room.

I get these paper letters from Hobby Lobby. I think they are $2.99 without a coupon.

I started by covering the ends the opposite way I was going to wrap the rest of the letter.


I just cut small lengths and hot glued them on.

Then I started my wrapping of the jute around the letter. I started in the back, gluing it in place. I used the hot glue some, but not entirely around where I was wrapping. Just enough to hold it. I had difficulty when I got to the corner. What I came up with is shown in the photos below.

1. I divided the corner into 2 sections.


2. I cut small pieces and put 2 on either side of the center line and then worked my way in from the edges.


That last photo shows how well all the ends were hidden. No tricks, just glue and putting the puzzle together!

Once I figured this out, it was smooth sailing from there. Glue....wrap....glue...wrap.....break up fight between boys....glue....wrap.... you get the point!

Almost done......


All done! Easy, but it did take some time. You can see I was drinking coffee and playing with the boys at the table while I did this. If being a mother had a job description it would include, "Must be an excellent MULTITASKER".


I bought this frame at hobby lobby for $4.00. It was a tabletop frame but was missing the back and the glass. Perfect for me! I would not have spent $4.00 if I was going to have to paint it (that is true!) but I loved the color for their room and was planning to use it as is. My idea is to hang the C on the wall inside of the empty frame. Like This......


Happy Monday and have an excellent week!


Linking up to:
DIY Show Off
I Gotta Try That
Create with Joy: Live with Passion
Keeping It Simple
Between Naps on the Porch
TDC Before and After

Thursday, April 4, 2013

Pennant Banner in Boys Room

Hope you all had a great Easter.

I can't believe it has been a week since my last post. We started spring break in the middle of last week and are still on break. We also had family visiting for a week, so we had lots to do and catch up on.

I have to share these roses that I bought at Costco for the holiday and to brighten the house up. We have had so much rain and grey weather that I needed a burst of sunshine in here! My favorite flowers are peonies and roses.


My chair is still not done, you can read Part 1 here. I have searched for fabric and still have not found any I like. I last told you I had fabric that I wanted to paint, but have not found a stencil yet. I will share it when I do.

Onto today's post. Here is a picture of the pennant banner (is that what it is called?!) on the wall.


This is how I did it:

I have been wanting to make a banner for the boys room for a while. I just needed to get organized. While I had all my fabric bins out (desperately searching for fabric for the chair since I can't find any in a store) I pulled out a bunch of left over fabric that would coordinate with the boys room.

I made a triangle shaped template out of cardboard. Sidenote: all the cardboard things that come on the bottom of paper stacks are the best for things like this. Anyways, I cut out a bunch of triangles. I ironed the edges leading to the point in and sewed them all with the same color thread. I left the top edge unfolded and unsewn.

I bought a large spool of jute from Hobby Lobby, with 40% off, OF COURSE!

I laid them all out on the floor so I could adjust the order of them based on pattern and color, then put them in order in a pile.


Then I glued them to the jute, keeping them evenly spaced at 2 inches apart.


It is hard to get a picture of the span once on the wall. It probably covers at least 10 feet, maybe a little more.


Hope you have a great day!!!


I'm Linking up to: House of Hepworths
Savvy Southern Style

Tuesday, February 12, 2013

Boys Room Dresser

This little dresser started life as a plain wood dresser from Wood You furniture. It is real wood, but is not the best construction so I don't mind experimenting and painting it (multiple times..). It was previously painted yellow when it was in my son's nursery.
Since it is in the boy's new room, it needed a change up.
I painted the body red with leftover paint from another project. It now matches the stacked cubes that are in between the two beds.
I wanted the drawers to be stained dark to match the window treatment, the comforters and the name signs above their beds. However, I had no paint stripper on hand so I had to get creative.
I had brown paint from a prior project. I did one coat of this. After it was dry I added a gel stain to the top with a rag. Let it sit for a few minutes and then wiped it off until I liked how it looked.
I had to let it dry for several days as the humidity was high and it stayed tacky FO-EVAH.
I LOVE the way it turned out!
I think the last photo of the entire dresser is the most true in color for how it looks in real life (vs. computer screen). It is NOT as orangey as it looks in the first pics. I swear....
Yes, I know I am missing a knob...... I can't find it anywhere. I'm sure I will find it in the Lego bin, or with a pile of cars! When I find it I will spray it with Chalkboard paint too!
Thanks for visiting today.