
So, I am finally back today to share a project that I have been working on for a while. Monogrammed hotel napkins using fabric paint. In the spirit of full disclosure, this was not my original idea. It was my sister's idea and she gave us some napkins a while back with our initial monogrammed on them using fabric paint. That girl is queen of fabric paint and uses it on everything, and it all looks great! The napkins she made for us have been used many times, and washed many times, and still look great. She got the inspiration from - where else - Pottery Barn!
Here is Pottery Barns Version:

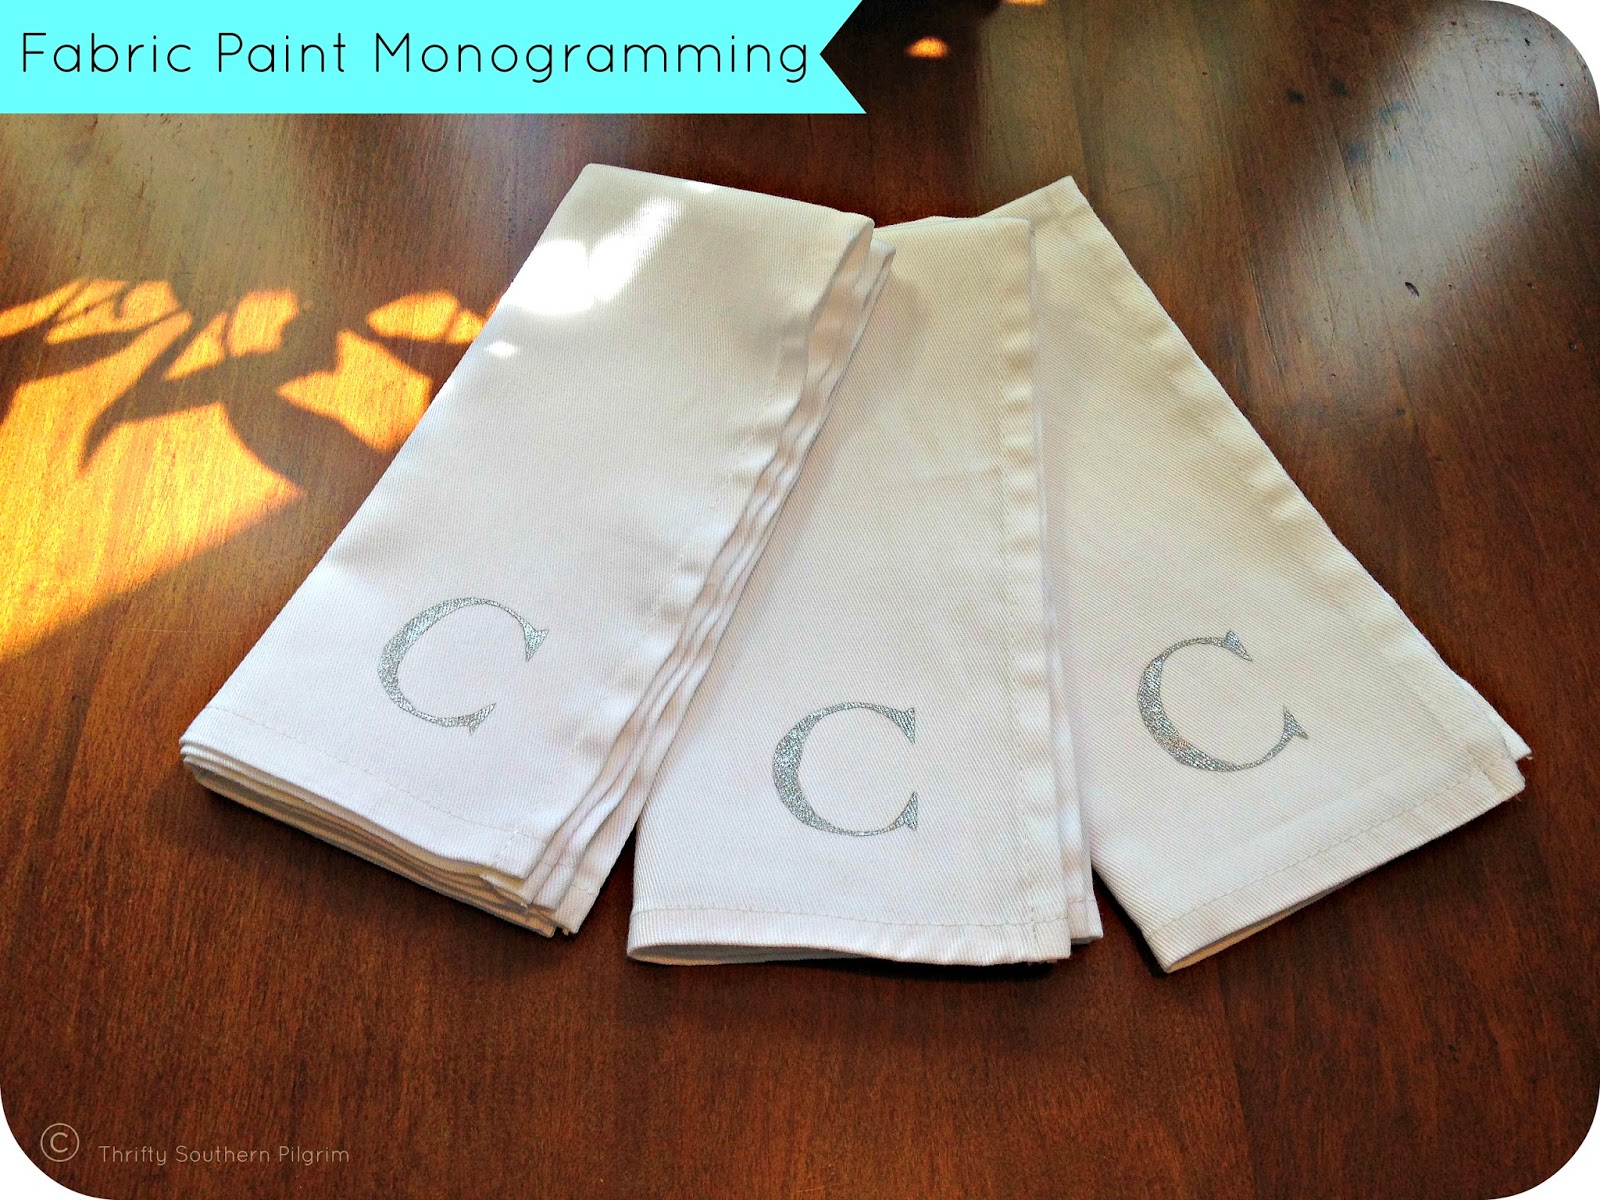
Here is my version:
I bought 12 white napkins at Home Goods, brought them home and washed them. About 2 days later I ironed them. About 4 days later I bought fabric paint and finally painted them........about 2 days later! A project that could have taken and afternoon took me over 1 week to complete. *sigh*
Do you want to see how I did this? Keep Reading!
This is from the package of napkins

After washing and ironing them all I printed out a letter using MS Word. I chose the font Big Caslon and the size 150 pt.
I gathered my supplies including:

Next I put my freezer paper over my printed out letter and traced it onto the freezer paper - making sure the shiny side was facing down. I removed the paper from underneath and cut out the freezer paper letter with an exacto knife. Tip: I had 12 napkins but actually cut out about 8 letters. When the paint was dry, I removed the freezer paper letter so I could reuse it on another napkin. I just used a piece of wax paper between the iron and the freezer paper because it now had paint dried on it.

Next I ironed the freezer paper (shiny side DOWN) onto the napkins. Use an iron with steam on, moving slightly so you don't burn fabric, and apply pressure. Usually about 30 seconds will do it. I check after about 10 - 15 seconds. Just make certain all the edges of the freezer paper are secured to the fabric.

The next part is the fun part. Adding the paint. Any brush will do, and I usually paint from the outer edge in to the center so as to not get any bleeding around the edge. You really don't need to do that if the freezer paper is ironed down good, I just don't like to re-do anything! I also pounce the brush a little, like you do with stenciling. The hard part is next. Waiting until the paint is dry before peeling the freezer paper off. That involves patience - NOT my virtue!

I placed the letter in the same place on every napkin, using the tag to keep it all the same. I had pre-folded them to make sure the monogram was going where it would look the best folded and with the tag at the bottom.

Voila! You are done! Twelve napkins in not too much time (once you omit all my little "breaks")!
Look how pretty these turned out. I just love this metallic paint. I think it adds a nice little sparkle. Won't it look pretty around a holiday table with lights bouncing off it?


I would love to hear about or see any fabric paint projects you have done recently!
Thanks for visiting!!!!
I am linking up today with:
Obsessive and Creative, The Pin Junkie, Be Different....Act Normal, Thrifty Decor Chick, Between Naps on the Porch,
Oh they turned out looking great!! This is such a cute idea and I think after seeing yours that I might make some of these for gifts this year!
ReplyDeleteI think I am going to make some more for gifts too! Thank you!!!!
Delete