
So I started planning again and literally that very week, Rhoda from Southern Hospitality wrote this post about the Billy bookcase and all the ways other bloggers have customized it. PERFECT! I made up my mind that is what I could do. Not nearly as nice as custom built built-in's, but much easier and much less time consuming.
The only problem was that IKEA is a 2 hour drive from us. And I hate to drive..... Luckily my husband had to travel to the same location for work, so we decided to join him for a little getaway. With the side benefit of us having 2 cars there and being a few minutes from IKEA..........I got to pick up some boxes. Whoo Hoo!! ****** then I had to get extenders, then 2 doors that I had forgotten/miscalculated on......****** Here is my helper in IKEA.

My plan was to use a tall bookcase on either end and add an extender to the top of it to make the entire unit the same height at the kitchen cabinets, 8 feet. I wanted to put a short book case flanked by two bookcases with doors under the TV.
Once the extenders were up I decided not to put a shelf across the top, bridging the 2 bookcases (which is originally what I planned). I also decided to paint the back of the bookcases an accent color. I used the color I used on the top of my 1/2 bath, since it coordinates with my new Pottery Barn curtains.
I trimmed out the top with crown and rope molding. I will give all the details and pictures of the install in a later post, I just want to show pictures of the finished project for now, especially since it was such a long project from start to finish. No more talking, just pictures. If you have questions, leave them in the comment section and I can address in my details post!


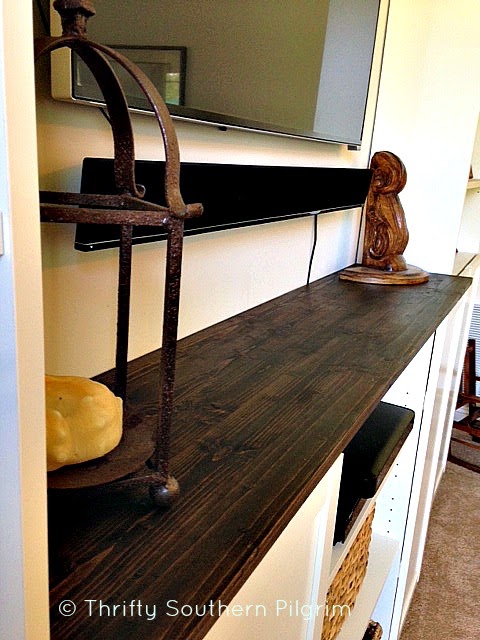


I still need to paint the walls, and that will give these more of a pop and delineation from the current wall color. I will also paint the cords you see from the TV to the speaker and from the speaker going behind the center part - but I have to decide on a wall color first, then I will paint them to match so they blend in better.
Thank you so much for stopping and reading. I will update this post with links when I do a post on the details.
*** Update: Here is the post with all the details about the build ****
Have a great weekend!!!
Linking up with:
Miss Mustard Seed
DIY Vintage Chic
The Girl Creative
Redoux Interiors
Keeping it Simple
Thrifty Decor Chick
Confessions of a Serail DIYer
that looks really pretty. I like the accent paint in the bck and the dark stain on the middle surface.
ReplyDeletevery nice.
Thanks Patricia! I appreciate your comment :-)
Delete